🍍 Sweet and Sour Chicken: Crispy, Tangy & Better Than Takeout! 🍗🥢
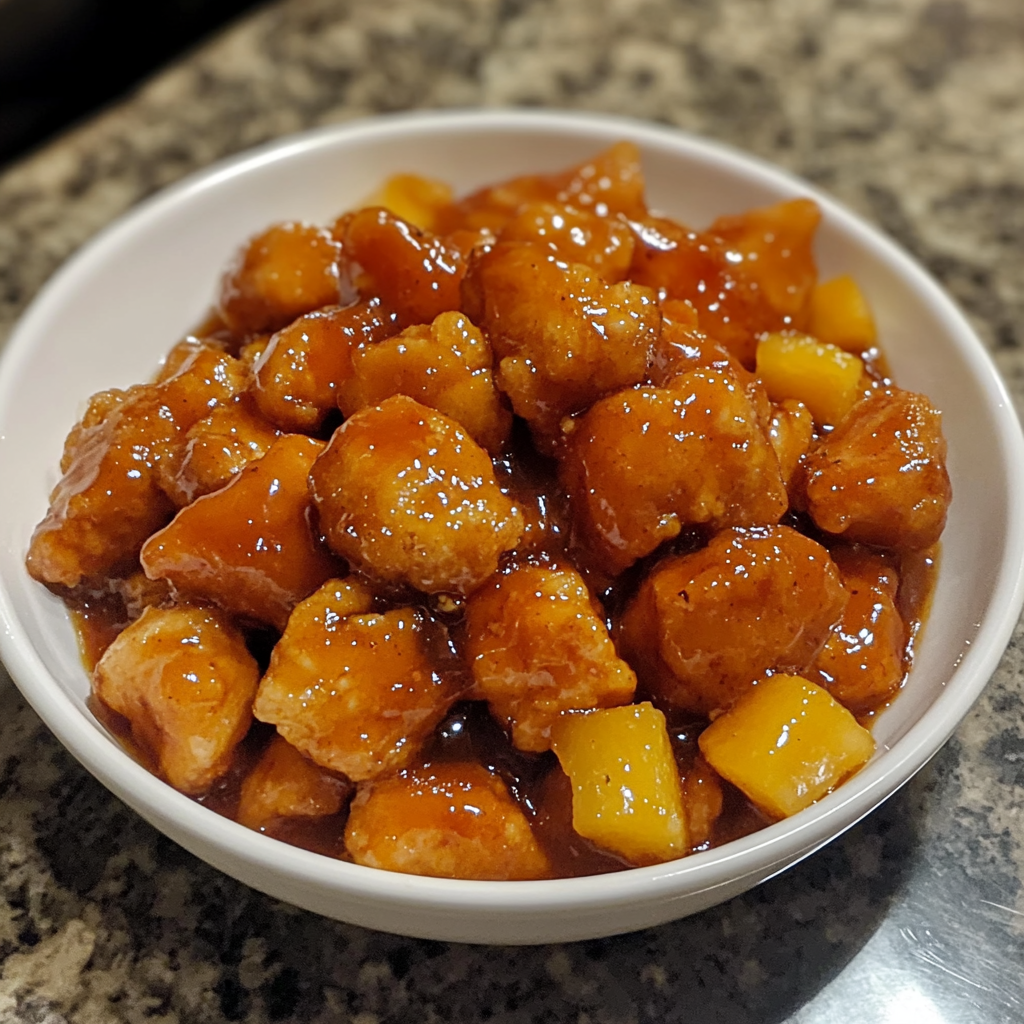
Hey there, foodie friends! Chef Jamie here, ready to spill the secrets to making the ultimate sweet and sour chicken right in your own kitchen. Picture this: golden, crispy bites of chicken smothered in a sticky-sweet sauce with just the right zing of tanginess. Add a pop of color from bell peppers, a juicy burst of pineapple, and boom—you’ve got a dish that’ll make your taste buds throw a party. And guess what? It’s way better (and cheaper!) than anything that comes in a takeout box. 🙌
I get it—sweet and sour chicken is that nostalgic comfort food we all crave after a long day. But here’s the thing: most restaurant versions are drowning in syrupy sauce or soggy breading. Not cool, right? That’s why I’ve spent years perfecting this recipe. We’re talking crunch-for-days chicken, a sauce that’s balanced (not cloying!), and veggies that stay crisp-tender. Plus, it’s ready in under 40 minutes. Let’s ditch the delivery apps and make magic happen!
👩🍳 The Takeout Box That Started It All
Let me take you back to my college days. Every Friday night, my roommates and I would split a giant order of sweet and sour chicken from this hole-in-the-wall spot near campus. We’d camp out on the floor with our paper plates, arguing over rom-coms and stealing each other’s pineapple chunks. Fast-forward to my first “adult” kitchen—a tiny apartment galley with a stove that only had two working burners. I was determined to recreate that Friday night magic, but my early attempts? Yikes. Soggy chicken. Sauce so sweet it made our teeth ache. Let’s just say my roommates voted to order pizza instead. 😅
But then came the breakthrough: a crispy cornstarch coating (no flour!), a sauce with rice vinegar for brightness, and frying the chicken in small batches. The first time I nailed it? My friends actually canceled their takeout order. Now, this recipe’s a staple in my home—my kiddos even request it for birthday dinners. And trust me, if I can master this in my janky college kitchen, you’ve totally got this.
🍯 What You’ll Need (And Why!)
- Chicken: 1.5 lbs boneless breasts or thighs. Thighs = juicier, breasts = leaner. No wrong answers!
- Cornstarch: ½ cup. Secret weapon for ultra-crispy texture! (Swap with potato starch for gluten-free.)
- Eggs: 2, beaten. They’re the glue for that golden crust.
- Oil: Neutral like avocado or canola. Don’t skimp—you want enough for shallow frying!
- Sauce Squad:
- ½ cup sugar or honey (honey adds floral notes)
- ¼ cup ketchup (trust me, it’s the umami base)
- ⅓ cup rice vinegar (white vinegar works in a pinch—just add 1 tsp sugar)
- 1 tbsp soy sauce (or tamari for gluten-free)
- 1 tsp garlic powder (fresh garlic? Sauté it in the sauce first!)
- Mix-Ins: Bell peppers, pineapple chunks, or green onions. Pro tip: Roast the pineapple for caramelized goodness!
🔥 Let’s Get Cooking: Crispy Chicken, No-Fail Sauce
- Prep the Chicken: Cube into 1-inch pieces. Pat dry—seriously, moisture is the enemy of crispiness!
- Dredge Like a Pro: Toss chicken in cornstarch (I use a zip-top bag for less mess). Dip in egg, letting excess drip off. Double-dip for extra crunch? Yes, please!
- Fry Time: Heat ½ inch oil in a skillet to 350°F. Fry in batches—don’t crowd the pan!—until golden (2-3 mins/side). Drain on a rack, not paper towels. Rack = crispier results!
- Sauce Magic: Whisk all sauce ingredients (except cornstarch slurry) in a pan. Simmer 5 mins. Too thin? Add the slurry and stir until glossy. Want it spicy? Throw in a diced chili!
- Toss & Serve: Add chicken (and veggies/pineapple) to the sauce. Fold gently—don’t murder the crunch! Heat through, then plate ASAP.
🍽️ Serving Vibes: How to Make It Look Fancy
Ditch the takeout container! Pile that glossy chicken over fluffy jasmine rice (or cauliflower rice for low-carb). Scatter sesame seeds and sliced green onions on top. Add a lime wedge for zing. Sidekick ideas: quick-pickled cucumbers or edamame. Oh, and serve it in a pineapple boat if you’re feeling extra—#DinnerPartyGoals.
🔄 Switch It Up: 5 Tasty Twists
- Vegetarian: Swap chicken for crispy tofu or cauliflower florets.
- Spicy: Add sriracha or chili crisp to the sauce.
- Hawaiian: Use mango instead of pineapple, add coconut flakes.
- Low-Sugar: Substitute sugar with monk fruit or reduce by half.
- Korean-Inspired: Mix in gochujang and top with kimchi.
👩🍳 Chef Jamie’s Extra Nuggets of Wisdom
Fun fact: My first sauce attempt was so vinegary, my partner joked it could “clean the kitchen floor.” 😬 Balance is key—taste as you go! And if you’re meal-prepping, keep the sauce and chicken separate until reheating. Oh, and that cornstarch dredge? It works wonders for tofu too—just ask my vegan sister!
❓ FAQs: Your Questions, Answered
Q: My sauce is too thin!
A: Mix 1 tbsp cornstarch with 2 tbsp cold water, then stir into simmering sauce. Let it bubble 1-2 mins. Still not thick? Repeat (but don’t overdo it—it’ll turn gluey!).
Q: Can I bake the chicken instead?
A: Sure! Coat as directed, then bake at 425°F on a rack for 20-25 mins. Spritz with oil for crunch.
Q: How do I store leftovers?
A: Keep in an airtight container for 3 days. Reheat in the oven or air fryer to revive crispiness.
📊 Nutrition (Per Serving)
Calories: ~480 | Protein: 35g | Carbs: 30g | Fat: 22g | Sugar: 20g
Note: Values vary based on oil absorption and substitutions.
📌 Save This Recipe!
Pin Title: Crispy Sweet and Sour Chicken Recipe (Better Than Takeout!) 🍍🍗
Pin Description: Skip the takeout! This homemade Sweet and Sour Chicken is crispy, tangy, and bursting with flavor—ready in 35 minutes! Learn chef-approved tips for perfect crunch, sauce balance, and creative twists (vegetarian, spicy, low-sugar options!). Includes step-by-step photos, FAQs, and meal prep hacks. #SweetAndSourChicken #TakeoutAtHome #EasyDinnerRecipes #ComfortFood
SEO Meta Description: Crispy sweet and sour chicken with tangy sauce—better than takeout! Easy recipe, chef tips, and tasty variations. Ready in 35 mins!