Sunshine in Every Bite: My Go-To Gluten-Free Vegan Strawberry Bars
Hey there, kitchen friend! Harper here, waving my flour-dusted wooden spoon at you from my sunlit counter. Ever have one of those days where you crave something that tastes like pure joy? Something that makes your taste buds do a happy little cha-cha? That’s exactly why I’m SO excited to share these Strawberry Bars with you today. Imagine this: a buttery, crumbly almond crust hugging a layer of jammy, lemon-kissed strawberries that burst with flavor like summer in a square. And guess what? They’re gluten-free, vegan, and naturally sweetened! No fussy ingredients, no complicated techniques—just pure, feel-good deliciousness. Whether you’re packing lunchboxes, needing a pick-me-up with your afternoon tea, or surprising your neighbor with a “just because” treat, these bars are your new secret weapon. They’re the kind of recipe that turns “I baked!” into “YOU made this?!” moments. Ready to make your kitchen smell like a berry patch? Let’s roll up our sleeves!
The Berry Stand Epiphany
Picture this: little 8-year-old Harper, pigtails askew, sitting cross-legged on a scratchy wool blanket at her grandparents’ farm stand. My job? “Quality Control” for the strawberries (a title I took VERY seriously). I’d sneak warm berries straight from the pint, juice dripping down my chin, while Grandma chuckled and whispered, “Save some for the customers, pickle!” Those berries tasted like sunshine and dirt and pure happiness. Fast forward to my first tiny apartment kitchen years later—I was determined to capture that magic in a bake. Batch after batch of strawberry bars emerged: some gummy, some crumbly disasters, one infamous “burnt offering.” But that farm stand memory kept me going. The moment I nailed this version—with the almond crust echoing the nutty fields near Grandma’s stand and the lemon zest making those berries SING—I did an actual spoon-waving victory dance. It tasted like childhood joy, but grown-up enough to share with my vegan bestie and gluten-free neighbor. That’s the power of a good berry, friends!
Your Berry-Bright Lineup
Gather these goodies! (Pro tip: Measure everything before starting—we call this mise en place in chef-speak, but really it just means less frantic cupboard-digging later.)
Strawberry Filling
- 3 cups diced fresh strawberries – Size matters! Dice them small (½-inch pieces) so they cook evenly into jammy perfection. Frozen? Thaw & drain well first, or your filling will be watery.
- ¼ cup maple syrup – My liquid gold! Adds deep sweetness without overpowering. Honey works if not strictly vegan, but maple’s earthy vibe? *Chef’s kiss*.
- 1 tbsp lemon juice + 2 tbsp lemon zest – Zest FIRST, then juice! The zest is where the sunny magic lives—it brightens the berries. No fresh lemons? Use 2 tsp bottled juice + 1 tsp orange zest in a pinch.
- Pinch of sea salt – Optional but genius! Just a whisper makes the strawberry flavor POP. Think of it as your flavor amplifier.
- 2 tbsp tapioca starch – Our natural thickener! Cornstarch works 1:1, but tapioca gives the glossiest, most gorgeous “berry lava” texture.
Crust & Topping
- 3 cups almond flour – Super-fine is best here for that melt-in-your-mouth crumb. Pack it lightly in your measuring cup! Sunflower seed flour works for nut-free, but adds a earthier taste.
- 2 tbsp tapioca starch – Helps bind our gluten-free crust without grittiness. Arrowroot powder is a seamless swap.
- ¼ tsp baking soda + ⅛ tsp sea salt – Baking soda lifts the crust slightly; salt balances the sweetness. Don’t skip!
- ½ cup coconut oil, softened – NOT melted! Think “cool room temp butter” texture. Vegan butter works too, but coconut oil adds a subtle tropical note I adore.
- ¼ cup maple syrup – Stick with maple here—its moisture content is perfect for the crust. Agave can make it sticky.
Let’s Build Some Berry Magic!
Put on your favorite playlist (I’m partial to 70s funk while berry-cooking), and let’s do this!
- Preheat & Prep: Crank that oven to 350°F (175°C). Line an 8×8 baking dish with parchment paper—let the edges overhang! This is your future lifeline for lifting out flawless bars. (Harper’s Hack: Spritz the pan first with oil so the paper sticks down obediently!)
- Berry Bliss Simmer: In a medium saucepan, combine strawberries, maple syrup, lemon juice, zest, and salt. Stir gently over medium heat. When it starts bubbling (about 5-7 mins), you’ll see the berries soften and release their ruby-red juice. Smells amazing, right? Now sprinkle in the tapioca starch. Whisk FAST to avoid lumps! Cook 1-2 more minutes until it transforms into a glossy, thick lava. Remove from heat. (Tip: Taste it! Want more zing? Add a pinch more zest.)
- Crust Concoction: In a mixing bowl, whisk almond flour, tapioca starch, baking soda, and salt. Add softened coconut oil and maple syrup. Now get hands-on! Mix until it resembles chunky, damp sand. Some bigger clumps = excellent crumble topping later! (Chef’s Confession: I use a fork first, then finish with fingers. Therapeutic!)
- Layer Up: Grab ⅔ of the dough. Press it FIRMLY into your parchment-lined pan. Use a flat-bottomed cup to compact it—this prevents crust crumble-apocalypse later. Spread the slightly cooled strawberry filling evenly over the crust. Now crumble the remaining dough over the top like delicious, buttery confetti. (Don’t press it down—let those crumbles stay fluffy!)
- Bake to Golden Glory: Slide it into the oven. Bake 30-35 minutes. You’ll know it’s ready when the filling is bubbly at the edges and the topping is golden. Your kitchen will smell like a bakery-dream! (Watch closely after 25 mins—almond flour browns faster than wheat!)
- The Big Chill: THIS IS CRUCIAL. Let the pan cool completely on a wire rack (1-2 hours). I know, it’s torture! But slicing warm = berry lava everywhere. For clean cuts? Chill 30 mins in the fridge after cooling. (Use the parchment “handles” to lift the whole slab out before slicing!)
Serving Up Sunshine
Presentation time! I slice these into 9 generous squares. For extra pizzazz? Place a bar on a cute plate, dust lightly with powdered coconut sugar (blitz coconut sugar in a blender until powdery!), and add fresh mint or a tiny strawberry fan. Morning glory? Serve one slightly warmed with coconut yogurt. Fancy dessert vibes? A scoop of vanilla vegan ice cream on the side turns it into a knockout. Picnic-perfect? Stack them in a container between parchment layers—they travel like champs!
Make It Your Own!
These bars are your canvas! Here are my favorite twists:
- Mixed Berry Bonanza: Swap 1 cup strawberries for raspberries or blueberries. Add 1 extra tsp tapioca starch if using extra-juicy berries.
- Lemon-Lavender Dream: Add 1 tsp culinary lavender buds to the crust + filling. Sophisticated and oh-so-pretty!
- Chocolate Dipped Delight: Melt vegan dark chocolate, dip half of each cooled bar, let set. Hello, elegance!
- Nut-Free Nirvana: Use sunflower seed flour instead of almond flour + add 1 extra tbsp maple syrup (it’s drier).
- Ginger Zing: Add 1 tbsp minced crystallized ginger to the filling. Spicy + sweet = addictive!
Harper’s Heart-to-Heart
These bars have seen some things, friends! Version 1.0 involved a tragic “crust landslide” where the entire filling erupted onto my oven floor (RIP, berries). Lesson learned: PACK THAT BASE! I also used to skip the cooling step… leading to what my partner lovingly calls “Strawberry Soup Squares.” Patience pays! Now, these are my most-requested recipe. Why? They’re forgiving. Berry quantity varies? Adjust tapioca slightly. Crust seems dry? Add 1 tsp water. They’re like the kitchen equivalent of your comfiest jeans—reliable, adaptable, and always make you feel good. Make them on a rainy Tuesday. Share them at a BBQ. They’re little edible hugs!
Berry Bar Rescue Station
Q: My filling is runny after baking! Help?
A: Next time, try 1 extra tbsp tapioca starch. For now? Chill bars longer (overnight is ideal!). They’ll firm up beautifully when cold.
Q: Can I use frozen strawberries?
A: Absolutely! Thaw COMPLETELY in a strainer over a bowl. Save that gorgeous juice for smoothies! Measure berries AFTER draining (3 cups drained berries = about 4 cups frozen).
Q: Crust too crumbly when slicing?
A: Two culprits: 1) Didn’t press firmly enough into the pan. Really lean into it! 2) Sliced too soon. Cold = clean cuts. Run your knife under hot water & dry it between slices too.
Q: Can I make these ahead?
A: YES! They’re even better Day 2! Store cooled bars airtight in the fridge (5 days) or freezer (3 months). Thaw frozen bars in the fridge overnight.

Strawberry Bars (Gluten Free + Vegan)
- Total Time: ~2 hrs
Description
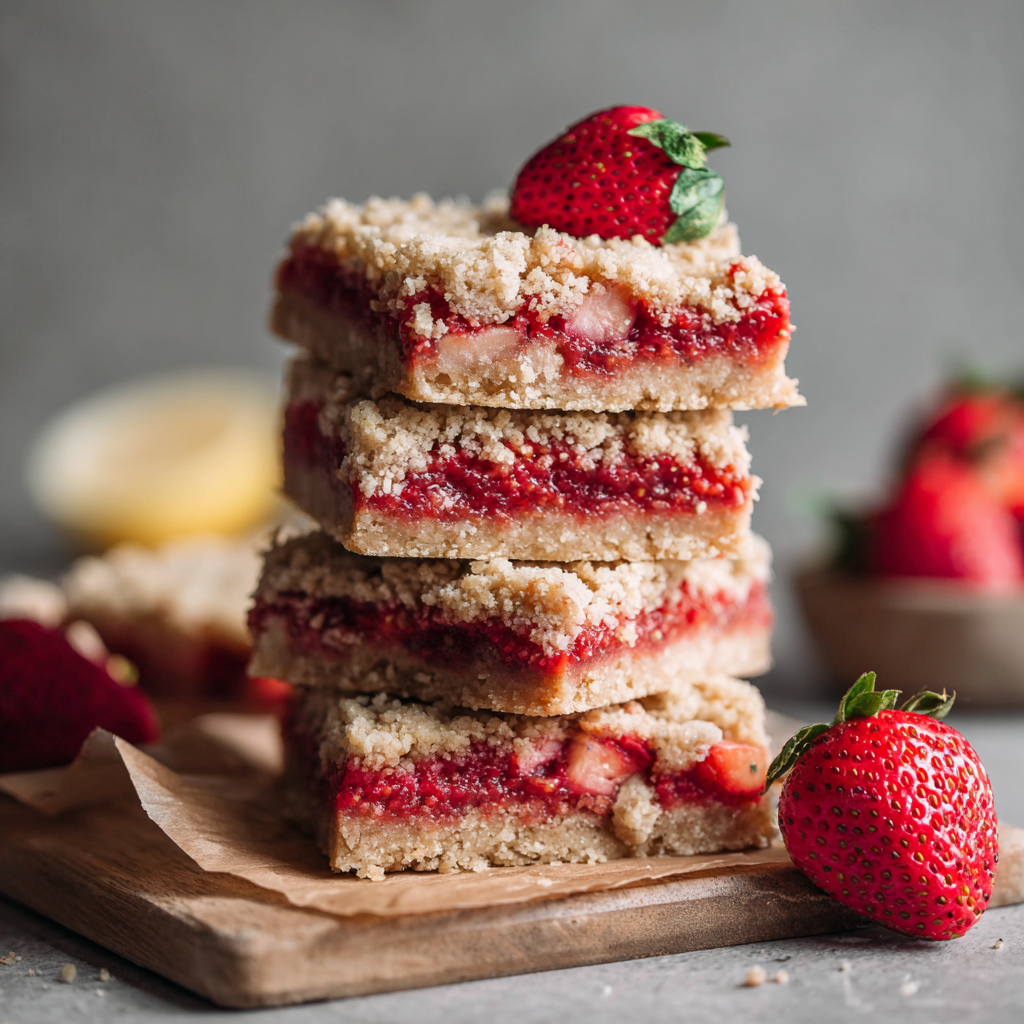
These strawberry bars are edible sunshine—jammy, lemony, buttery bites that happen to be gluten-free, vegan, and naturally sweetened. With a golden almond crust and a fresh berry filling, they’re perfect for lunchboxes, potlucks, or a quiet afternoon tea. Quick to prep, easy to love, and even easier to share—these bars are a crowd-wowing classic wrapped in a wholesome package.
Ingredients
Strawberry Filling:
-
3 cups diced strawberries (fresh or well-drained frozen)
-
¼ cup maple syrup
-
1 tbsp lemon juice + 2 tbsp zest
-
Pinch of sea salt
-
2 tbsp tapioca starch (or cornstarch)
Crust & Topping:
-
3 cups almond flour
-
2 tbsp tapioca starch
-
¼ tsp baking soda
-
⅛ tsp sea salt
-
½ cup softened coconut oil (not melted)
-
¼ cup maple syrup
Instructions
-
Prep Oven to 350°F (175°C). Line an 8×8 pan with parchment (leave overhang for easy lifting).
-
Cook Filling: In a saucepan, simmer strawberries, syrup, lemon juice/zest, and salt for 5–7 mins. Stir in starch, whisk until thick and glossy. Set aside to cool slightly.
-
Mix Crust: Combine dry crust ingredients. Add coconut oil and maple syrup. Mix into a crumbly dough.
-
Assemble: Press ⅔ dough firmly into the pan. Spread berry filling. Crumble remaining dough over the top.
-
Bake 30–35 mins, until golden and bubbling. Cool fully before slicing (chill for clean cuts!).
Notes
-
Sub raspberries or blueberries for a mixed berry flair.
-
Add lavender or crystallized ginger for extra aroma.
-
Dip cooled bars in melted vegan chocolate for an elegant touch.
-
Nut-free? Use sunflower seed flour + a bit more syrup.
- Prep Time: 20 mins
- Cook Time: 35 mins
Nutrition
- Calories: 260 kcal per serving
- Sugar: 10g
- Fat: 17g
- Carbohydrates: 22g
- Protein: 4g
Nourishment Notes (Per Bar)
Calories: 260 | Protein: 4g | Fat: 17g (Mostly healthy fats from almonds & coconut!) | Carbs: 22g | Sugar: 10g (All naturally occurring from berries & maple syrup!)
Final Thoughts: More Than Just a Recipe
These strawberry bars are a reminder that food is never just food. They’re:
-
Connection: The way my grandma’s farm stand inspired them.
-
Nourishment: Wholesome ingredients that love you back.
-
Creativity: A canvas for your personal touch (chocolate dip, anyone?).
Whether you’re baking for health, joy, or someone you adore, I hope these bars bring a little sunshine to your table. Now go grab a berry and take a bite of happiness!