When Bread Becomes a Hug: The Magic of Homemade Soft Dinner Rolls
Hey, my kitchen friends! Harper here, wooden spoon in hand and flour definitely dusting my nose. Ever notice how the smell of baking bread stops everyone in their tracks? It’s pure magic, isn’t it? That warm, buttery, yeasty aroma whispering, “Come gather, something wonderful is happening.” And let me tell you, these Homemade Soft Dinner Rolls? They’re the ultimate kitchen hug – cloud-soft, golden-kissed, and begging to be pulled apart while steam dances into the air.
Maybe you’re picturing a holiday feast, a basket of these beauties taking center stage. Or maybe it’s just a chilly Tuesday, and you want to turn soup night into something special. Wherever you are, whatever the occasion, these rolls are your ticket to kitchen hero status. Forget the intimidating bread-baker stereotype! I’m talking simple ingredients, straightforward steps (I’ll walk you through every one!), and results that’ll make you beam with pride. Trust me, if I – the queen of once-burnt toast – can master these, so can you. So tie on that apron, crank up your favorite tunes, and let’s bake some happiness together. Get ready to fall in love with the feel of dough beneath your fingers and the unbeatable joy of saying, “I made these!”
My Great-Grandma’s Rolling Pin & The Lesson in Lumpy Dough
These rolls always take me back to my Great-Grandma Eleanor’s tiny, always-warm kitchen. I was maybe ten, legs dangling off a stool, utterly fascinated by this gnarled wooden rolling pin that felt older than time itself. She’d let me “help,” which mostly meant flouring surfaces with more enthusiasm than precision. One day, tasked with shaping the risen dough into balls, mine looked… well, let’s say “rustic” is generous. Lumpy, lopsided, some big, some small – a real doughy disaster zone! I was mortified, convinced I’d ruined Christmas Eve dinner.
But Great-Grandma Eleanor just chuckled, a sound like crackling firewood. “Harper, honey,” she said, wiping flour from my cheek, “bread isn’t about perfection. It’s about heart. See these?” She pointed to my misshapen creations nestled beside her perfect ones. “Yours have extra love kneaded in. They’ll taste just as good, maybe better!” And you know what? She was absolutely right. When those rolls came out, golden and fragrant, nobody cared about the shape. They just moaned with delight, reaching for seconds (especially my lumpy ones!). That day, I learned baking isn’t about flawless technique; it’s about the warmth you pour into it. Every time I shape these rolls now, I feel her hand guiding mine, reminding me that imperfection is delicious.
Your Bread Basket Brigade: Simple Ingredients, Big Flavor
Gather your squad! These pantry staples come together for pure roll magic. Don’t stress – substitutions are totally cool (I gotchu!).
- 3½ cups All-Purpose Flour (plus extra for dusting): Our trusty foundation! It gives structure without being too heavy. Chef’s Tip: Fluff it in the bag before scooping & leveling! Using a scale? 420-450g is perfect. Whole wheat fans? Swap up to 1 cup for a nuttier bite, but add 1-2 tbsp extra milk.
- 1 packet Active Dry Yeast (about 2¼ tsp): The tiny powerhouse! It needs warmth and sugar to wake up and make our dough rise. Check the expiry date! Instant yeast works too – just mix it right in with the dry ingredients.
- 1 cup Warm Milk (about 110°F/43°C): The cozy bath for our yeast! Whole milk adds richness, but 2% or skim works. Crucial: Use a thermometer! Too hot kills yeast; too cold puts it to sleep. No dairy? Unsweetened almond or oat milk are great swaps.
- 1 large Egg: Our golden glue! It adds richness, tenderness, and that beautiful color. Room temp is best – pop it in warm water for 5 mins if you forgot! Vegan? Mix 1 tbsp ground flaxseed with 2.5 tbsp warm water, let sit 5 mins.
- ¼ cup Granulated Sugar: Yeast food and subtle sweetness! It balances the salt and encourages browning. Honey or maple syrup work too – use the same amount.
- 1 tsp Salt: The flavor booster! Don’t skip it – it controls yeast activity and makes everything taste more… well, like something! Fine sea salt or table salt both work.
- ¼ cup Unsalted Butter, softened: The secret to melt-in-your-mouth tenderness and that irresistible flavor! Unsalted lets us control the salt level. Softened = cool room temp, not melted. Vegan? Use your favorite plant-based stick butter.
- Extra Butter (for brushing): The glorious finish! Brushing melted butter on hot rolls gives them an irresistible sheen and soft crust.
Let’s Get Baking! Your Foolproof Roll Roadmap
Ready to create some doughy magic? Follow these steps – I’ll be right beside you with tips and tricks!
- Wake Up the Yeast: In a large bowl (or your stand mixer bowl), whisk together the warm milk and sugar. Sprinkle the yeast evenly over the top. No stirring yet! Let it sit for 5-10 minutes. Watch for the magic: It should get foamy and smell wonderfully yeasty – like bread rising! If nothing happens after 10 mins, your yeast might be snoozing (or worse, dead). Time to start fresh with new yeast!
- Build the Base: Add the softened butter, egg, and salt to the yeasty milk. Grab a wooden spoon or dough hook attachment. Add 2 cups of the flour. Mix on low speed (or stir vigorously) until it’s mostly smooth – a shaggy batter is totally fine here! Chef’s Hack: Crack the egg into a small bowl first to avoid shells!
- Bring in the Flour: Now, add the remaining flour, about ½ cup at a time, mixing well after each addition. Key Insight: You might not need the full 3.5 cups! Stop adding flour when the dough pulls away from the sides of the bowl but is still slightly tacky to the touch. It should feel soft and pliable, not dry. Over-flouring = tough rolls!
- Knead with Love (or Machine Power!): Time to build that gluten! If using a stand mixer: Knead on medium-low speed with the dough hook for 6-8 minutes. By hand: Turn the dough onto a lightly floured surface and knead for 8-10 minutes. What to look for: The dough should become smooth, elastic, and spring back when you poke it gently. It should feel alive! Chef’s Tip: Put on your favorite song and knead to the beat!
- First Rise – Let it Rest & Grow: Lightly grease a large bowl (or just wipe out the mixing bowl) with oil or butter. Place your beautiful dough ball inside, turning it once to coat. Cover tightly with plastic wrap or a damp kitchen towel. Find a warm, draft-free spot for it to rise. Ideal spot? Oven with the light on (OFF!), near a radiator, or even a sunny window sill. Let it rise for about 1 hour, or until doubled in size. Patience is key!
- Shape Your Masterpieces: Punch down the risen dough firmly to release the air – this is satisfying! Turn it out onto a *lightly* floured surface. Divide it into 12-16 equal pieces (I like 15 for slightly smaller rolls). Shaping Secret: To form smooth balls, cup each piece in your hand and roll it firmly in a circular motion on the counter, tucking the edges underneath. Place the shaped rolls seam-side down into a generously greased 9×13 inch baking dish, spacing them slightly apart but letting them snuggle up.
- Second Rise – The Final Puff: Cover the baking dish again with plastic wrap or a towel. Let the rolls rise in their warm spot for another 30-45 minutes. They should look puffy and be touching each other. Almost baking time!
- Bake to Golden Perfection: Preheat your oven to 375°F (190°C) – make sure it’s fully hot! Uncover the risen rolls. Bake for 15-20 minutes. Watch closely: They’re done when they’re deeply golden brown on top and sound hollow when gently tapped on the bottom. Chef’s Trick: Rotate the pan halfway through for even browning.
- The Butter Bath (Non-Negotiable!): Melt a tablespoon or two of butter. As soon as the rolls come out of the oven, brush the melted butter generously all over the tops. This gives them that gorgeous shine, soft crust, and extra flavor boost! Let them cool in the pan for just 5 minutes before devouring (if you can wait!).
Showtime! Serving Your Golden Beauties
Okay, the hard part is over (resisting eating them all immediately!). Presentation is easy-peasy. Transfer the warm rolls to a lined basket (a clean kitchen towel or parchment paper works great) – this keeps them cozy. For major wow factor, nestle the basket inside a checkered cloth. These rolls are the ultimate team players! Serve them alongside:
- Holiday feasts (turkey gravy deserves these!)
- Cozy soups, stews, or chili (perfect for dunking!)
- Weeknight pasta dishes (because carbs love carbs)
- Brunch spreads (slather with jam or honey butter!)
Don’t forget a small dish of extra softened butter or flavored butter (honey cinnamon? Garlic herb? Yes please!) for spreading. Watch them disappear!
Mix It Up! Fun Flavor Twists
Got the basics down? Let’s play! Here are some easy ways to dress up your rolls:
- Cheesy Garlic Pull-Aparts: Before the second rise, brush the tops lightly with melted butter mixed with 1 minced garlic clove. Sprinkle generously with shredded cheddar or Parmesan cheese before baking.
- Everything Bagel Bliss: After the butter bath, while still hot, brush lightly with water or egg wash and sprinkle liberally with Everything Bagel Seasoning.
- Rosemary Sea Salt Sophistication: Add 1-2 tbsp finely chopped fresh rosemary to the dry ingredients. After baking, brush with butter and sprinkle with flaky sea salt.
- Honey Whole Wheat Hug: Substitute 1 cup of all-purpose flour with whole wheat flour. Replace 1 tbsp of the sugar with honey (add it with the wet ingredients).
- Sweet Cinnamon Swirl (Dessert Roll!): After the first rise, roll the dough into a large rectangle. Brush with melted butter, then sprinkle evenly with a mix of 1/4 cup brown sugar + 1 tbsp cinnamon. Roll up tightly, slice into pinwheels, place in the pan, let rise, and bake! Optional: Drizzle with a simple powdered sugar glaze after baking.

Homemade Soft Dinner Rolls
- Total Time: 43 minute
Description
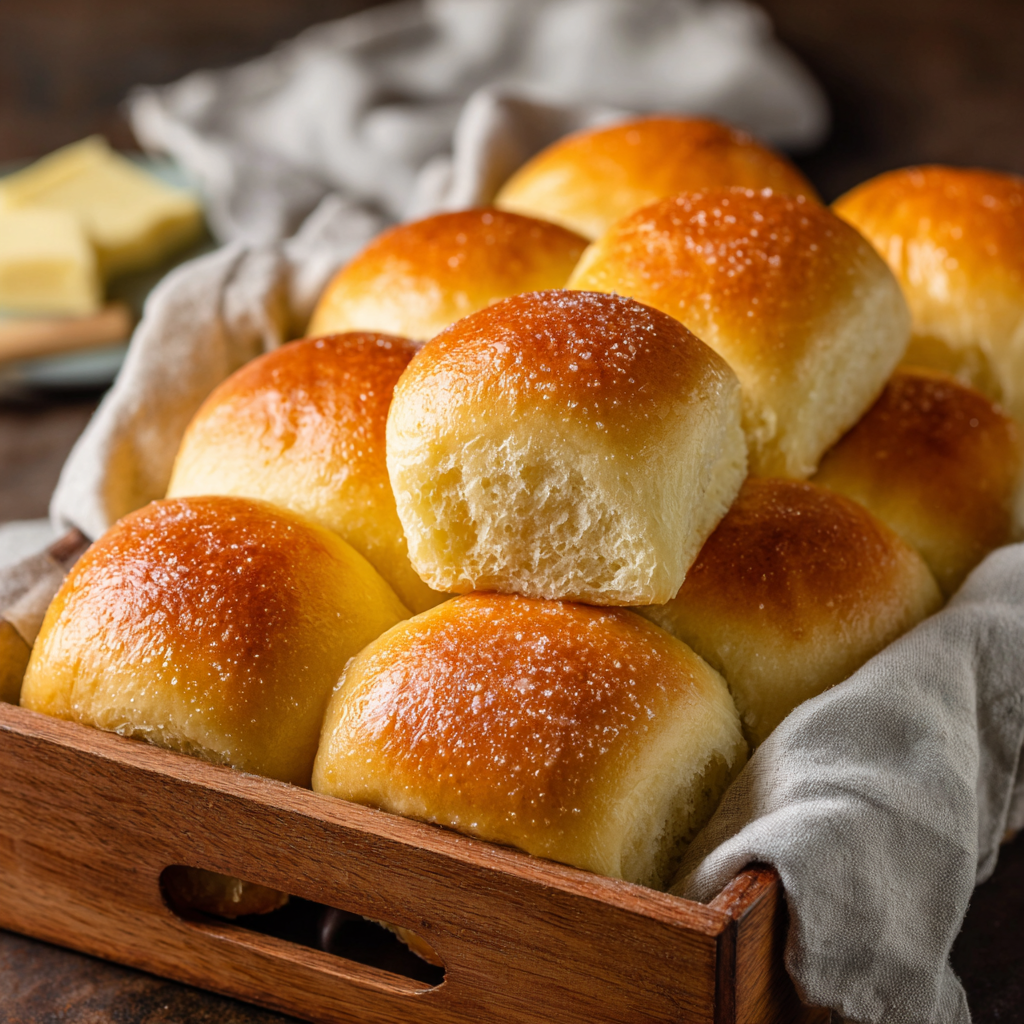
When you want bread that feels like a warm hug, these soft dinner rolls are your answer. Buttery, pillowy, and easy enough for any home baker, they’re the kind of rolls that get passed around the table with quiet “mmms” and happy sighs. Whether it’s a holiday feast or Tuesday soup night, these rolls make it special. And the best part? No fancy tools, just simple love-kneaded dough, a little patience, and a golden finish that makes you beam.
Ingredients
-
3½ cups all-purpose flour (plus more for dusting)
-
1 cup warm milk (110°F)
-
¼ cup granulated sugar
-
2¼ tsp active dry yeast (1 packet)
-
1 large egg (room temp)
-
¼ cup unsalted butter, softened
-
1 tsp salt
-
Extra butter, for brushing
Instructions
-
Proof yeast: Mix warm milk and sugar in a bowl. Sprinkle yeast on top. Let sit 5–10 mins until foamy.
-
Mix dough: Add butter, egg, salt, and 2 cups flour. Mix into a shaggy dough.
-
Add flour & knead: Gradually mix in remaining flour until soft, slightly tacky dough forms. Knead 8–10 mins until smooth and elastic.
-
First rise: Place in greased bowl, cover, and let rise 1–1.5 hrs, until doubled.
-
Shape rolls: Punch down dough. Divide into 12–16 pieces. Shape into balls and place in a greased 9×13″ pan.
-
Second rise: Cover loosely. Let rise 30–45 mins until puffy and touching.
-
Bake: Preheat oven to 375°F. Bake 15–20 mins until golden brown.
-
Butter finish: Brush warm rolls with melted butter. Let cool 5 mins before serving (if you can wait!).
- Prep Time: 25 mins
- Cook Time: 15–20 mins
Nutrition
- Calories: 180 kcal per serving
- Sugar: 4g
- Fat: 6g
- Carbohydrates: 26g
- Protein: 4g
Final Thoughts: Bread as a Love Language
These rolls aren’t just food—they’re a tangible way to say “I care.” Whether you’re recreating Great-Grandma Eleanor’s legacy, impressing guests, or simply treating yourself, remember: Perfection is overrated. Lopsided rolls? More character. Burnt bottoms? Call it “caramelized.”
So flour your counter, crank up the tunes, and bake with abandon. Because the world could always use more warm bread… and more love, one buttery bite at a time.