The Butter Revelation: Why Your Kitchen Needs This 10-Minute Miracle
Hey, kitchen friend! Harper here, waving my trusty wooden spoon at you from my sunlit corner. Let’s talk about a little magic trick that’ll make you feel like a culinary wizard: homemade butter. I know what you’re thinking—”Butter? From scratch? Isn’t that, like, churning for hours?” Nope! We’re talking creamy, dreamy, spreadable gold in 10 minutes flat, with just one ingredient (plus salt if you’re fancy). No antique churn, no PhD in dairy science. Just you, some cream, and that mixer hiding in your cabinet.
Remember that first time you roasted garlic or baked bread? That “I MADE THIS?!” pride? This is that feeling on turbo boost. Store-bought butter’s great, sure—but homemade? It tastes like sunshine and happy cows. It’s richer, silkier, and so customizable your toast will weep with joy. Plus, you get bonus buttermilk for pancakes! Whether you’re a curious newbie or a seasoned cook, this is your invitation to play. So tie on that apron—we’re about to turn cream into a standing ovation. ✨
P.S. If I can do this (former toast-burner here!), YOU’VE GOT THIS. Let’s make some magic!
Shake It Till You Make It: My Awkward Butter Epiphany
Picture 8-year-old me, pigtails askew, at my grandma’s farmhouse. She hands me a mason jar half-filled with cream and says, “Shake this like you’re mad at it.” Ten minutes of furious jiggling later—arms burning, giggling hysterically with my cousins—a miracle happened. That sloshy cream thickened… then SPLOOSH! Separated into a pale liquid and a tiny, glorious yellow lump. We smeared it on warm cornbread, and OH. MY. STARS. It tasted like sweet, grassy heaven. Grandma winked: “Sometimes the best things come from shaking things up.”
Decades later, when I burned three batches of croissants (a story for another day!), I remembered that jar. I grabbed my stand mixer instead of shaking, and in minutes—BAM—butter rebirth! That humble lump taught me more than technique: cooking’s joy lives in the messy, hands-on experiments. Every time I make butter now, I taste sunshine and that farmhouse laughter.
Your Butter Toolkit: Simplicity Itself
Gather these—no fancy gear required! Pro tip: Quality matters. Splurge on organic, high-fat cream (at least 36%). Happy cows = happy butter.
- 2 cups heavy cream (aka heavy whipping cream) – Why it rocks: High fat content = more butter! Chef hack: Let it sit out 30 mins first—slightly warmer cream whips faster. Substitute: For cultured butter vibes, mix in 2 tbsp plain yogurt and rest overnight!
- ¼ tsp salt (optional) – Why it rocks: Balances richness. Chef hack: Use flaky sea salt for texture! Substitute: Truffle salt, smoked salt, or honey for sweet butter.
Wait—where’s the buttermilk? Don’t worry! You’ll MAKE it as a byproduct. That’s the kitchen universe giving you pancakes on layaway. 🥞
Butter Ballet: Let’s Dance Through the Steps
Step 1: Whip It Real Good
Pour cream into your stand mixer (paddle attachment works best!). Start on medium-low (unless you want a cream facial!), then ramp up to medium-high. In 3-4 mins, you’ll have pillowy whipped cream—pause to taste (I won’t tell!). Keep beating! At 6-8 mins, it’ll look grainy, then suddenly… SPLASH. Yellow butter solids swim in milky buttermilk! Chef secret: If using a jar, shake like you’re winning a maraca contest. Takes 10-15 mins—great for tiny kitchen warriors!
Step 2: Strain & Rescue
Dump everything into a fine-mesh strainer over a bowl. SAVE THAT LIQUID! That’s your buttermilk—gold for biscuits or ranch dressing. Now, squeeze the butter blob with clean hands or a spatula. Get aggressive! More liquid out = longer shelf life.
Step 3: The Spa Rinse
This step is CRUCIAL. Plop your butter into a bowl of ice water. Knead it like dough, pressing out cloudy liquid. Change water 3-4 times until it runs clear. Why? Leftover buttermilk sours fast. Dry butter = happy butter!
Step 4: Flavor & Form
Pat your butter dry, then mix in salt if using. Get creative: Fold in herbs, honey, or citrus zest! Shape into a log with parchment, press into a ramekin, or roll into fancy quenelles. Chill 1 hour before use—it firms up beautifully.
Pro Fail-Safe Tip: If your cream won’t separate, it might be ultra-pasteurized. Grab another brand next time!
The Butter Revelation: Why Your Kitchen Needs This 10-Minute Miracle
Hey, kitchen friend! Harper here, waving my trusty wooden spoon at you from my sunlit corner. Let’s talk about a little magic trick that’ll make you feel like a culinary wizard: homemade butter. I know what you’re thinking—“Butter? From scratch? Isn’t that, like, churning for hours?” Nope! We’re talking creamy, dreamy, spreadable gold in 10 minutes flat, with just one ingredient (plus salt if you’re fancy). No antique churn, no PhD in dairy science. Just you, some cream, and that mixer hiding in your cabinet.
Remember that first time you roasted garlic or baked bread? That “I MADE THIS?!” pride? This is that feeling on turbo boost. Store-bought butter’s great, sure—but homemade? It tastes like sunshine and happy cows. It’s richer, silkier, and so customizable your toast will weep with joy. Plus, you get bonus buttermilk for pancakes! Whether you’re a curious newbie or a seasoned cook, this is your invitation to play. So tie on that apron—we’re about to turn cream into a standing ovation. ✨
P.S. If I can do this (former toast-burner here!), YOU’VE GOT THIS. Let’s make some magic!
Shake It Till You Make It: My Awkward Butter Epiphany
Picture 8-year-old me, pigtails askew, at my grandma’s farmhouse. She hands me a mason jar half-filled with cream and says, “Shake this like you’re mad at it.” Ten minutes of furious jiggling later—arms burning, giggling hysterically with my cousins—a miracle happened. That sloshy cream thickened… then SPLOOSH! Separated into a pale liquid and a tiny, glorious yellow lump. We smeared it on warm cornbread, and OH. MY. STARS. It tasted like sweet, grassy heaven. Grandma winked: “Sometimes the best things come from shaking things up.”
Decades later, when I burned three batches of croissants (a story for another day!), I remembered that jar. I grabbed my stand mixer instead of shaking, and in minutes—BAM—butter rebirth! That humble lump taught me more than technique: cooking’s joy lives in the messy, hands-on experiments. Every time I make butter now, I taste sunshine and that farmhouse laughter.
Your Butter Toolkit: Simplicity Itself
Gather these—no fancy gear required! Pro tip: Quality matters. Splurge on organic, high-fat cream (at least 36%). Happy cows = happy butter.
✅ 2 cups heavy cream (aka heavy whipping cream)
Why it rocks: High fat content = more butter!
Chef hack: Let it sit out 30 mins first—slightly warmer cream whips faster.
Substitute: For cultured butter vibes, mix in 2 tbsp plain yogurt and rest overnight!
✅ ¼ tsp salt (optional)
Why it rocks: Balances richness.
Chef hack: Use flaky sea salt for texture!
Substitute: Truffle salt, smoked salt, or honey for sweet butter.
Wait—where’s the buttermilk? Don’t worry! You’ll MAKE it as a byproduct. That’s the kitchen universe giving you pancakes on layaway. 🥞
Butter Ballet: Let’s Dance Through the Steps
Step 1: Whip It Real Good
Pour cream into your stand mixer (paddle attachment works best!). Start on medium-low (unless you want a cream facial!), then ramp up to medium-high. In 3-4 mins, you’ll have pillowy whipped cream—pause to taste (I won’t tell!). Keep beating! At 6-8 mins, it’ll look grainy, then suddenly… SPLASH. Yellow butter solids swim in milky buttermilk!
Chef secret: If using a jar, shake like you’re winning a maraca contest. Takes 10-15 mins—great for tiny kitchen warriors!
Step 2: Strain & Rescue
Dump everything into a fine-mesh strainer over a bowl. SAVE THAT LIQUID! That’s your buttermilk—gold for biscuits or ranch dressing. Now, squeeze the butter blob with clean hands or a spatula. Get aggressive! More liquid out = longer shelf life.
Step 3: The Spa Rinse
This step is CRUCIAL. Plop your butter into a bowl of ice water. Knead it like dough, pressing out cloudy liquid. Change water 3-4 times until it runs clear. Why? Leftover buttermilk sours fast. Dry butter = happy butter!
Step 4: Flavor & Form
Pat your butter dry, then mix in salt if using. Get creative: Fold in herbs, honey, or citrus zest! Shape into a log with parchment, press into a ramekin, or roll into fancy quenelles. Chill 1 hour before use—it firms up beautifully.
Pro Fail-Safe Tip: If your cream won’t separate, it might be ultra-pasteurized. Grab another brand next time!
Butter’s Grand Debut: How to Shine
Homemade butter deserves a standing ovation!
-
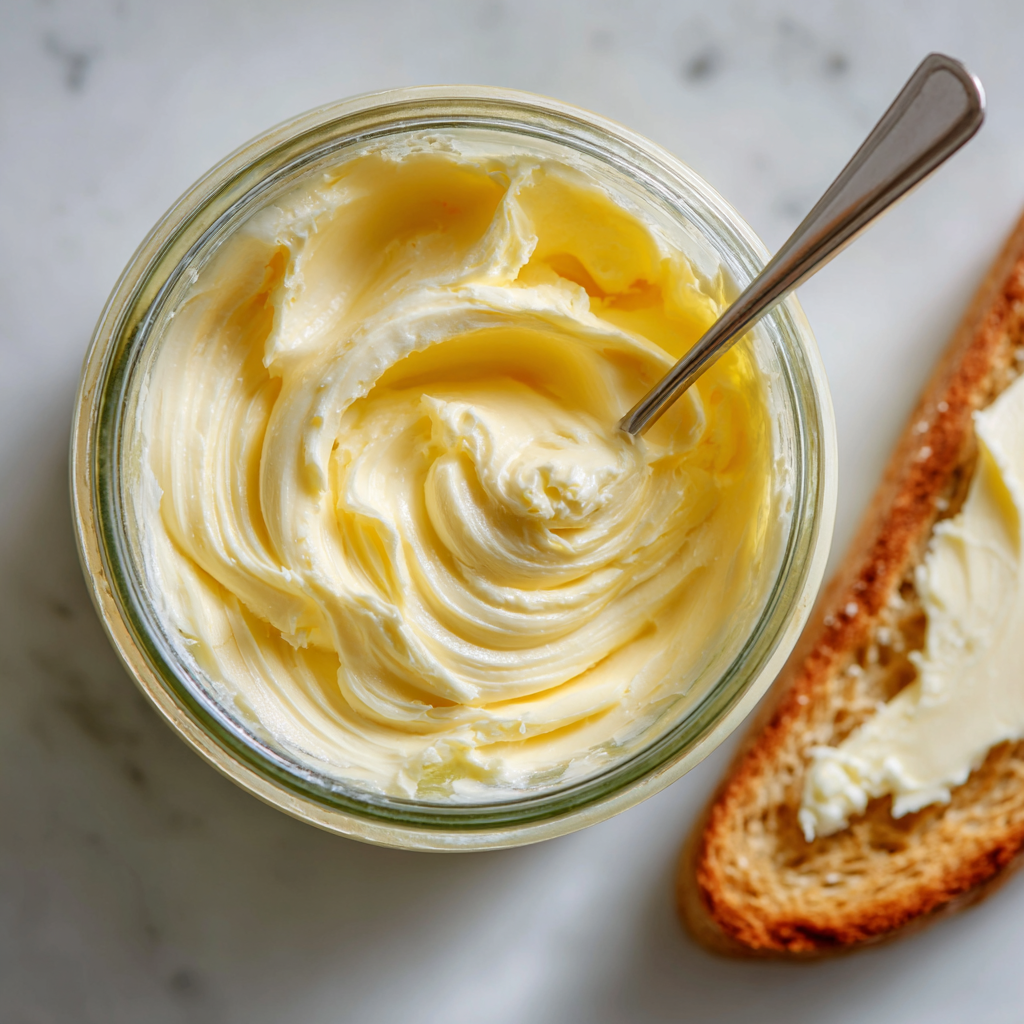
Slather it warm on crusty bread so it melts into golden pools.
-
Dollop on steamed corn or potatoes—it’ll melt into a velvety hug.
-
For brunch royalty, set out a small board with flavored butters (try chive or cinnamon-honey!), crusty baguettes, and radishes.
-
Or gift it in a tiny mason jar with twine—instant kitchen hero status.
Remember: This butter’s flavor is LIVELY. Let it star on simple stages!
Play With Your Food: 5 Delicious Twists
Once you master basic butter, the flavor playground opens! Knead these into your finished butter:
-
Garlic-Herb Bomb: 2 minced garlic cloves + 2 tbsp chopped parsley/chives
-
Sweet Cin-Honey: 1 tbsp honey + ½ tsp cinnamon (heaven on waffles)
-
Lemon-Dill Zing: Zest of 1 lemon + 1 tbsp fresh dill
-
Truffle Indulgence: 1 tsp truffle oil + flaky salt
-
Vegan Hack: Use coconut cream! Chill 2 cans overnight, scoop solid cream, whip as above. Add nutritional yeast for “buttery” depth.
Harper’s Butter Diaries: Confessions & Triumphs
True story: The first time I made “fancy” butter, I added roasted garlic… then forgot to rinse properly. My garlic bread reeked of sourness for days! Lesson learned: RINSING IS NON-NEGOTIABLE.
But oh, the wins! Like the time I subbed smoked salt and slathered it on grilled corn—friends still beg for it. Over the years, I’ve learned:
-
Cheap cream makes bland butter—splurge a little.
-
Salted butter freezes beautifully for 3 months (wrap tight!).
-
Adding a splash of live-culture buttermilk to cream before whipping gives that old-fashioned tang.
Mostly? I’ve learned butter is a love language. Pass the bread!
Butter SOS: Your Questions, Solved!
Q: My butter’s too soft—did I mess up?
A: Nope! Homemade is softer than store-bought (no stabilizers). Chill it longer, or if it’s oily, you might’ve over-whipped. Still tasty!
Q: Can I use a blender?
A: Hand mixer or stand mixer are best. Blenders can overheat the cream—making greasy butter. In a pinch? SHAKE THAT JAR!
Q: Why rinse? Seems extra.
A: Leftover buttermilk = sour butter in 2 days. Rinsed butter lasts 2 weeks fresh (or freeze!). Trust me—future you will thank present you!
Q: Can I make this dairy-free?
A: Absolutely! Use full-fat coconut cream (not milk). Chill cans overnight, scoop out solids, whip as directed. Add 1 tsp nutritional yeast + pinch of salt for depth.
Quick Nutrition Snapshot (because knowledge is power!)
Per tablespoon:
-
~100 kcal
-
Fat: 11g
-
Carbs: 0g
-
Protein: 0g
-
Sodium: 90mg (with salt)
Note: Values are estimates. Homemade butter lacks additives but is still a treat—enjoy mindfully!
Butter’s Grand Debut: How to Shine
Homemade butter deserves a standing ovation! Slather it warm on crusty bread so it melts into golden pools. Dollop on steamed corn or potatoes—it’ll melt into a velvety hug. For brunch royalty, set out a small board with flavored butters (try chive or cinnamon-honey!), crusty baguettes, and radishes. Or gift it in a tiny mason jar with twine—instant kitchen hero status. Remember: This butter’s flavor is LIVELY. Let it star on simple stages!
Play With Your Food: 5 Delicious Twists
Once you master basic butter, the flavor playground opens! Knead these into your finished butter:
- Garlic-Herb Bomb: 2 minced garlic cloves + 2 tbsp chopped parsley/chives
- Sweet Cin-Honey: 1 tbsp honey + ½ tsp cinnamon (heaven on waffles)
- Lemon-Dill Zing: Zest of 1 lemon + 1 tbsp fresh dill
- Truffle Indulgence: 1 tsp truffle oil + flaky salt
- Vegan Hack: Use coconut cream! Chill 2 cans overnight, scoop solid cream, whip as above. Add nutritional yeast for “buttery” depth.
Harper’s Butter Diaries: Confessions & Triumphs
True story: The first time I made “fancy” butter, I added roasted garlic… then forgot to rinse properly. My garlic bread reeked of sourness for days! Lesson learned: RINSING IS NON-NEGOTIABLE. But oh, the wins! Like the time I subbed smoked salt and slathered it on grilled corn—friends still beg for it. Over the years, I’ve learned: 1) Cheap cream makes bland butter—splurge a little. 2) Salted butter freezes beautifully for 3 months (wrap tight!). 3) Adding a splash of live-culture buttermilk to cream before whipping gives that old-fashioned tang. Mostly? I’ve learned butter is a love language. Pass the bread!
Butter SOS: Your Questions, Solved!
Q: My butter’s too soft—did I mess up?
A: Nope! Homemade is softer than store-bought (no stabilizers). Chill it longer, or if it’s oily, you might’ve over-whipped. Still tasty!
Q: Can I use a blender?
A> Hand mixer or stand mixer are best. Blenders can overheat the cream—making greasy butter. In a pinch? SHAKE THAT JAR!
Q: Why rinse? Seems extra.
A> Leftover buttermilk = sour butter in 2 days. Rinsed butter lasts 2 weeks fresh (or freeze!). Trust me—future you will thank present you!
Q: Can I make this dairy-free?
A> Absolutely! Use full-fat coconut cream (not milk). Chill cans overnight, scoop out solids, whip as directed. Add 1 tsp nutritional yeast + pinch of salt for depth.

Homemade Butter
Description
Hey butter believer! Harper here, bringing you the easiest kitchen win ever: creamy, dreamy homemade butter in just 10 minutes. No churn, no fuss — just one ingredient, a sprinkle of salt if you’re fancy, and a swirl of kitchen magic. Trust me: once you spread this sunshine on warm bread, store-bought will never taste the same. Ready to whip up a miracle? Let’s churn joy!
Ingredients
-
2 cups heavy cream (36%+ fat, best quality you can swing)
-
¼ tsp flaky salt (optional but SO good)
Instructions
1️⃣ Whip It: Pour cream into a stand mixer with paddle (or hand mixer). Start medium-low, then increase to medium-high. First: whipped cream. Keep going! It’ll look grainy, then split into butter & buttermilk at ~6–8 mins.
2️⃣ Strain It: Pour into a fine sieve. Save that buttermilk for pancakes! Squeeze butter gently to press out extra liquid.
3️⃣ Rinse It: Rinse butter in ice water, knead gently. Repeat until water runs clear. This step keeps it fresh!
4️⃣ Salt & Shape: Pat dry, mix in salt if using. Shape into a log or pack in a ramekin. Chill 1 hour to firm up.
Notes
-
For cultured butter: Stir 2 tbsp plain yogurt into cream, rest overnight before whipping.
-
Flavor magic: Mix in fresh herbs, roasted garlic, citrus zest or honey.
-
Vegan idea: Use chilled coconut cream instead!
Nutrition
- Calories: 100 kcal per serving
- Fat: 11g
- Carbohydrates: 0g
- Protein: 0g
Quick Nutrition Snapshot (because knowledge is power!)
Per tablespoon: ~100 kcal | Fat: 11g | Carbs: 0g | Protein: 0g | Sodium: 90mg (with salt)
Note: Values are estimates. Homemade butter lacks additives but is still a treat—enjoy mindfully!
Final Thought: Butter, the Tiny Kitchen Revolution
Making butter isn’t just about the end product—it’s about reclaiming the joy of simple, real food. In a world of pre-packaged everything, taking 10 minutes to transform cream into gold is a tiny act of rebellion. It’s proof that magic lives in the everyday.